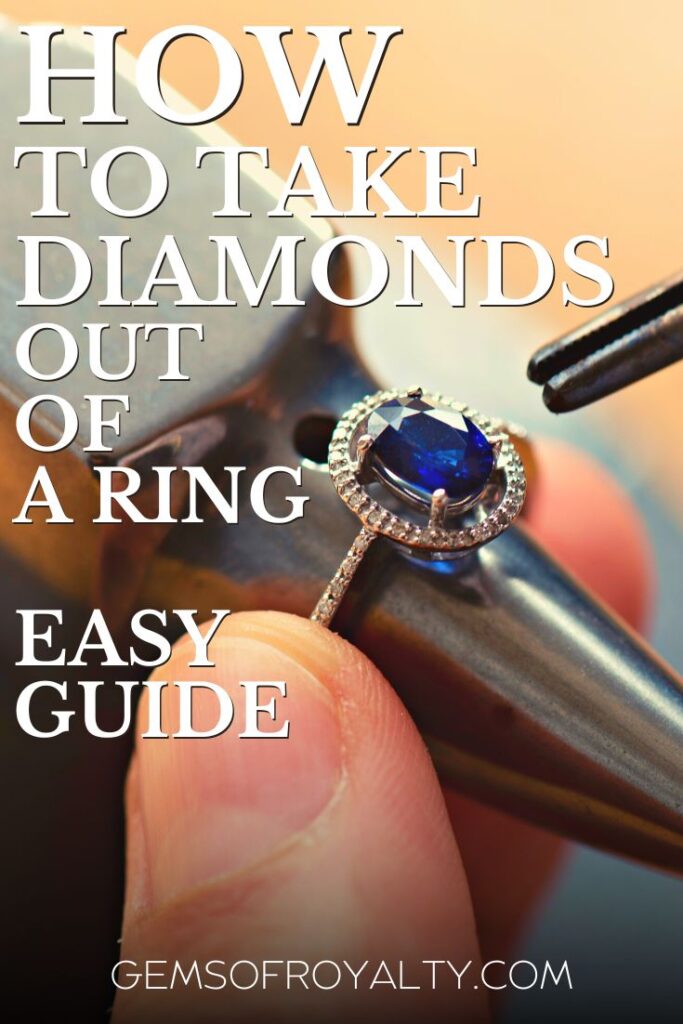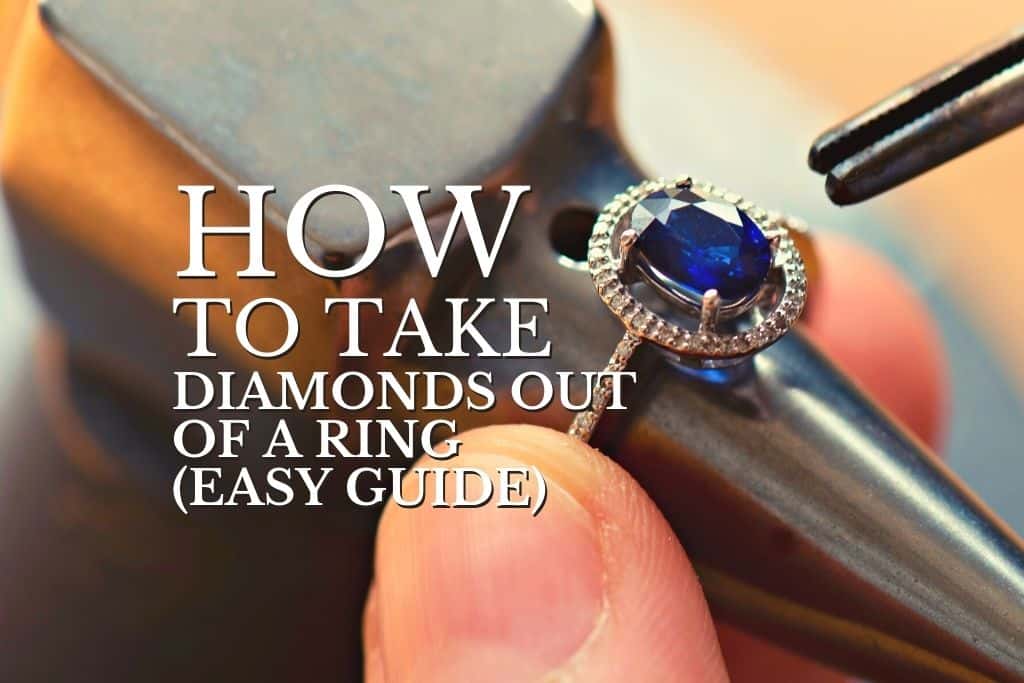
Whether you’re trying to clean the diamond in your favorite ring or looking to replace it altogether, you’ll first have to remove it from the band. The complexity of this process can range depending on how your ring is built; for example, if the diamond is held in place by prongs, you can even remove it from the ring. However, if you’re inexperienced, you risk damaging the stone or its setting, so proceed at your own discretion.
To take prong-held diamonds out of a ring, evaluate the softness of the metal used in the prongs, and use a pair of jewelry pliers strong enough to bend the metal outwards. Now, you can safely remove the diamond before returning the prongs to their original shape.
Note that this is the procedure you’ll follow only if your diamond is held together by prongs, which is the most common setup for diamond rings. That said, below, you’ll also find out more about what to do when the stone is set in a bezel or channel setting. So, without further ado, let’s dive into everything you need to know about taking diamonds out of a ring, including some pointers on when the job is best left to the pros.
1. Ensure You Can Safely Take Out the Diamond Yourself

When thinking about altering or working on any piece of jewelry as valuable as a diamond ring, you’ll first want to make sure that you keep the risk of an accidental scratch or indentation (both in the stone and the band) as low as possible.
While, as mentioned, these jobs are usually best left to the pros, you might be able to attempt some of the simple removal processes if you’re knowledgeable and skilled enough.
Note that I wouldn’t be making this recommendation if you were thinking about working on another precious stone, such as a ruby, sapphire, or emerald. That’s because these rocks can easily get scratched accidentally, as they’re not nearly as strong and scratch-resistant as diamonds.
So, unless you’re deliberately pounding on your diamond with force, the main component you should be worried about when taking on a DIY project like this is the band itself. Since some of the metals used on bands can be pretty soft, you risk causing scratches and indentations on their surface while using pliers or other sharp metal tools.
As mentioned, diamonds can be mounted through several setups. The prong-mounted diamonds I’m focusing on in this article are not only the most common but also the easiest to take out yourself. If your ring is built differently, you can still attempt the diamond removal process yourself by following the instructions in some of the latter sections, but I highly recommend taking it to a professional.
Most rings of this variety have four or six prongs keeping the diamond in place, all of which are made from the same (hopefully malleable) metal. You’ll only need a pair of jewelry pliers and, ideally, a magnifying glass to carry out this process. While the magnifying glass is optional, it can help make your movements more precise.
When ensuring you can safely take out the diamond yourself, it’s essential to determine the exact type of metal the band is made of. If you’re working with, say, gold or silver (the most common band materials), you can go ahead and attempt the job yourself.
Stainless steel, on the other hand, is far more challenging to work with, as the amount of force you’ll have to apply leaves you open to a wide array of mistakes. Even professionals work with special equipment when trying to get a diamond out of a stainless steel band.
Additionally, if you’re planning on re-using the same band, remember that the prongs can be bent in and out of shape only so many times, so you’ll want to be certain before starting working.
If, after considering all of the above, you’ve given yourself the green light to start separating the diamond from the band, you’re ready to move on to the next step.
2. Use Jewelry Pliers To Bend the Prongs Outwards
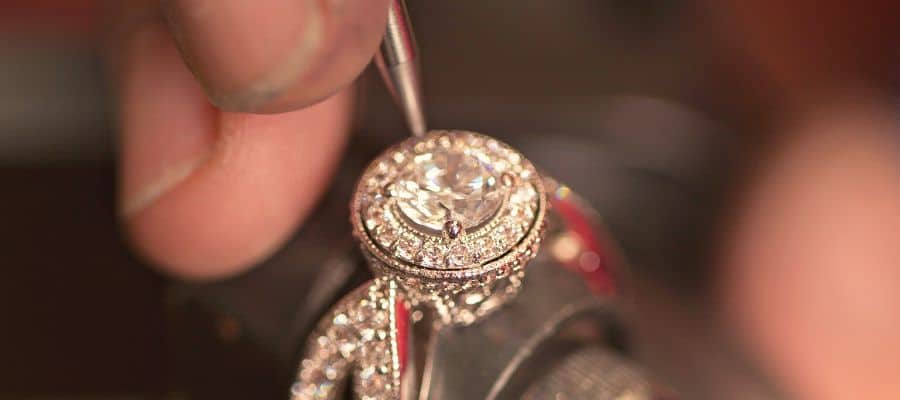
This next part is pretty self-explanatory – it’s time to take out your jewelry pliers (make sure to get them from a reputable seller that delivers high-quality products). Using a magnifying glass, make sure you can clearly see the separation between the diamond’s surface and the first prong.
Gently use the pliers to bend the prong backward until it’s entirely lifted from the diamond’s surface. Apply gentle but consistent force to ensure you don’t damage the band’s material. Repeat the same procedure on the other three or five prongs until you see the diamond starting to move around without constraints.
3. Remove the Diamond
The hardest part is over. By this point, the diamond should be freely movable, and you can lift it up either by hand or by (gently) using the pliers, depending on how big it is. Make sure to immediately place the loose diamond in a safe place, taking all necessary precautions to store it correctly.
4. Bend the Prongs Back
If your plan is to re-use the band, whether, with the same diamond or another stone, it’s best to bend the prongs back to their original position to keep them from getting damaged. Remember that once you re-set a stone back in place, the process can be repeated only so many times before the prongs experience structural damage, so tread carefully.
On the other hand, if you have no use for the band, you can either gift it or melt it down and turn it into another piece of jewelry – the possibilities are endless.
How To Take Diamonds Out of a Ring With a Bezel Setting
While taking a diamond out of metal prongs is simple enough, if the stone is mounted on a bezel setting, the process becomes a bit more complicated, which is why unless you have some previous work or experience in jewelry work, I don’t recommend taking this project upon yourself.
I’ll still take you through some tips and tricks on taking a diamond out of a ring with a bezel setting, though, so read on to learn more.
First off, you’ll want to be certain that a bezel setting is what you’re working with. To do that, check whether the stone is surrounded by a metal encasing; if so, that encasing is the bezel. You’ll have to cut a portion of that off to be able to freely move the diamond attached to it.
Again, the cutting process would pose significant risks to its structural integrity if it were any other precious or semiprecious stone. However, since we’re talking about diamonds, which are near-impossible to scratch or cut through, you’ll be able to go through the process with a bit more certainty.
Here’s a step-by-step guide on how to take diamonds out of a ring with a bezel setting:
- Find a gap between the encasement and the diamond. That’s your entry point.
- Insert a sharp, thin scalper or blade in the gap. This is a tricky part, as you don’t want to risk too much contact with the stone itself. That’s why finding a thin, flexible cutting tool is of the essence.
- Push the metal away from the diamond. Your goal is to make enough room between the two components for you to fit a bezel lifter.
- Insert a bezel lifter in the gap and start moving it around. Once there’s enough room, insert the tool in the gap with its flat side against the diamond and start pushing the metal encasement out. Make sure to go over the entire diameter until you feel the stone getting loose.
- If there’s not enough room, cut a portion of the bezel. Keep in mind that doing so will make the band much harder to re-use but will allow you to lift the diamond far more easily.
- Shake the diamond out using a mallet hammer. You’ll want to be extremely cautious during this process, as you don’t want to accidentally damage the stone by applying too much force. A little goes a long way, and after a few taps, the diamond should be more movable.
- Pick the diamond out yourself. Sometimes, even after several strong taps, the stone won’t simply fall out on its own. That’s why you might have to go in yourself and remove it manually.
- Repeat the process on any side stones (if applicable). Keep in mind that since side stones are usually smaller, it might be more challenging to take them out. However, with enough patience and persistence, you’ll ultimately be able to take them out.
If the whole process seems a bit too complicated for you to carry out by yourself, don’t hesitate to enlist the help of a professional. They have the necessary equipment, skillset, and knowledge to get the job done in no time.
Moreover, if you don’t plan to re-use the band after removing the diamond, you don’t have to be nearly as careful during the process. Most of the scratch and indentation risks are posed to the band’s metal rather than the diamond itself, so at least the precious stone doesn’t stand to get too badly damaged throughout this procedure.
How To Take Diamonds Out of a Ring With a Channel Setting

This is the trickiest setting to get a diamond out of, so I strongly advise against attempting to carry out a diamond removal yourself in this instance. That’s because, in this kind of setup, the diamond is strongly pressed between the metal of the band, which is designed in the shape of a, you guessed it, channel to accommodate the stone.
Since the ring is probably designed to be used for a long time, the stone is tightly fit in the “valley” created in the band, so simply picking it up isn’t an option. Bending the metal outwards to loosen the diamond isn’t an option either, as it’s extremely difficult to pull off without special equipment.
Taking the diamond to be removed by a professional often costs $80 or more, which, while not anything to scoff out, is still a small price to pay to ensure that the components come out looking as good as new.
Keep in mind that if you’re trying to take a diamond out of this type of ring, there’s a good chance you won’t be able to use the band ever again, even if you take it to a professional jeweler. That’s because the process requires the handler to either cut the metal to allow the stone to pop out or to chemically treat it until they achieve the desired results.
In the former case, the band might be fixable, and you can re-use it. However, you’ll have to incur additional costs, and there’s always a risk that the band won’t ever look as seamless as it used to. In the latter, the band won’t ever be usable again, so make sure to think your choices through before making a decision.
Can You Always Take Diamonds Out of a Ring?

Technically speaking, you can always take diamonds out of any ring. The stones aren’t found attached to the band – they’ve been manually fixed to the ring, and they can also be de-attached.
However, how simple or difficult the process is can vary. While, in some cases, simply moving a few prongs will give you the desired results, in others, chemical processes and special equipment need to be used.
Notice my use of the word “technically” above. While all diamonds can be taken out of their setting, not all of them can come out of the process undamaged. Moreover, as mentioned, the band, unfortunately, can’t always come out in the same reusable condition that the diamond does, especially if a chemical removal approach is followed.
Final Thoughts
While taking diamonds out of a ring is a job usually best left to the pros, when the setup is simple enough, you can attempt to take it upon yourself.
Keep in mind that the procedure you’ll have to follow will vary depending on how your specific piece of jewelry is built; so, if you find yourself unsure about which of the above description fits your ring, it’s best to have your diamond taken out by a jeweler, as you don’t want to risk damaging such a pricey piece only to save on the negligible diamond removal cost.
If you found this article useful, make sure you save this pin below to your Jewelry board.